How to Save and Regrow Nails After a Break
I wrote a post last Christmas about how I was finally able to get the best nails of my life - and they were doing so well until I got a really bad break. This week's post is all about how I managed to save a bad nail break and ultimately regrow my nails in great shape. Growing your nails takes time but with a good routine you can figure out how to bring your nails back to life after damage or breaks.

But first, a quick rewind - here were my natural nails after an oil treatment on March 12. They were so long for me and mostly really healthy. I'd done an oil treatment because I'd discovered I had a small chip towards the nail bed on my right ring finger, and I wanted to heal my nails.

And then disaster struck! I had a super low break on my right ring finger - who knew you could totally rip up your nail leaning on a diner bench to pick up your purse?!?!? - and I needed to act quickly. I used Kiss nail glue to hold the break and then (very painfully) removed the rest of my nail polish.

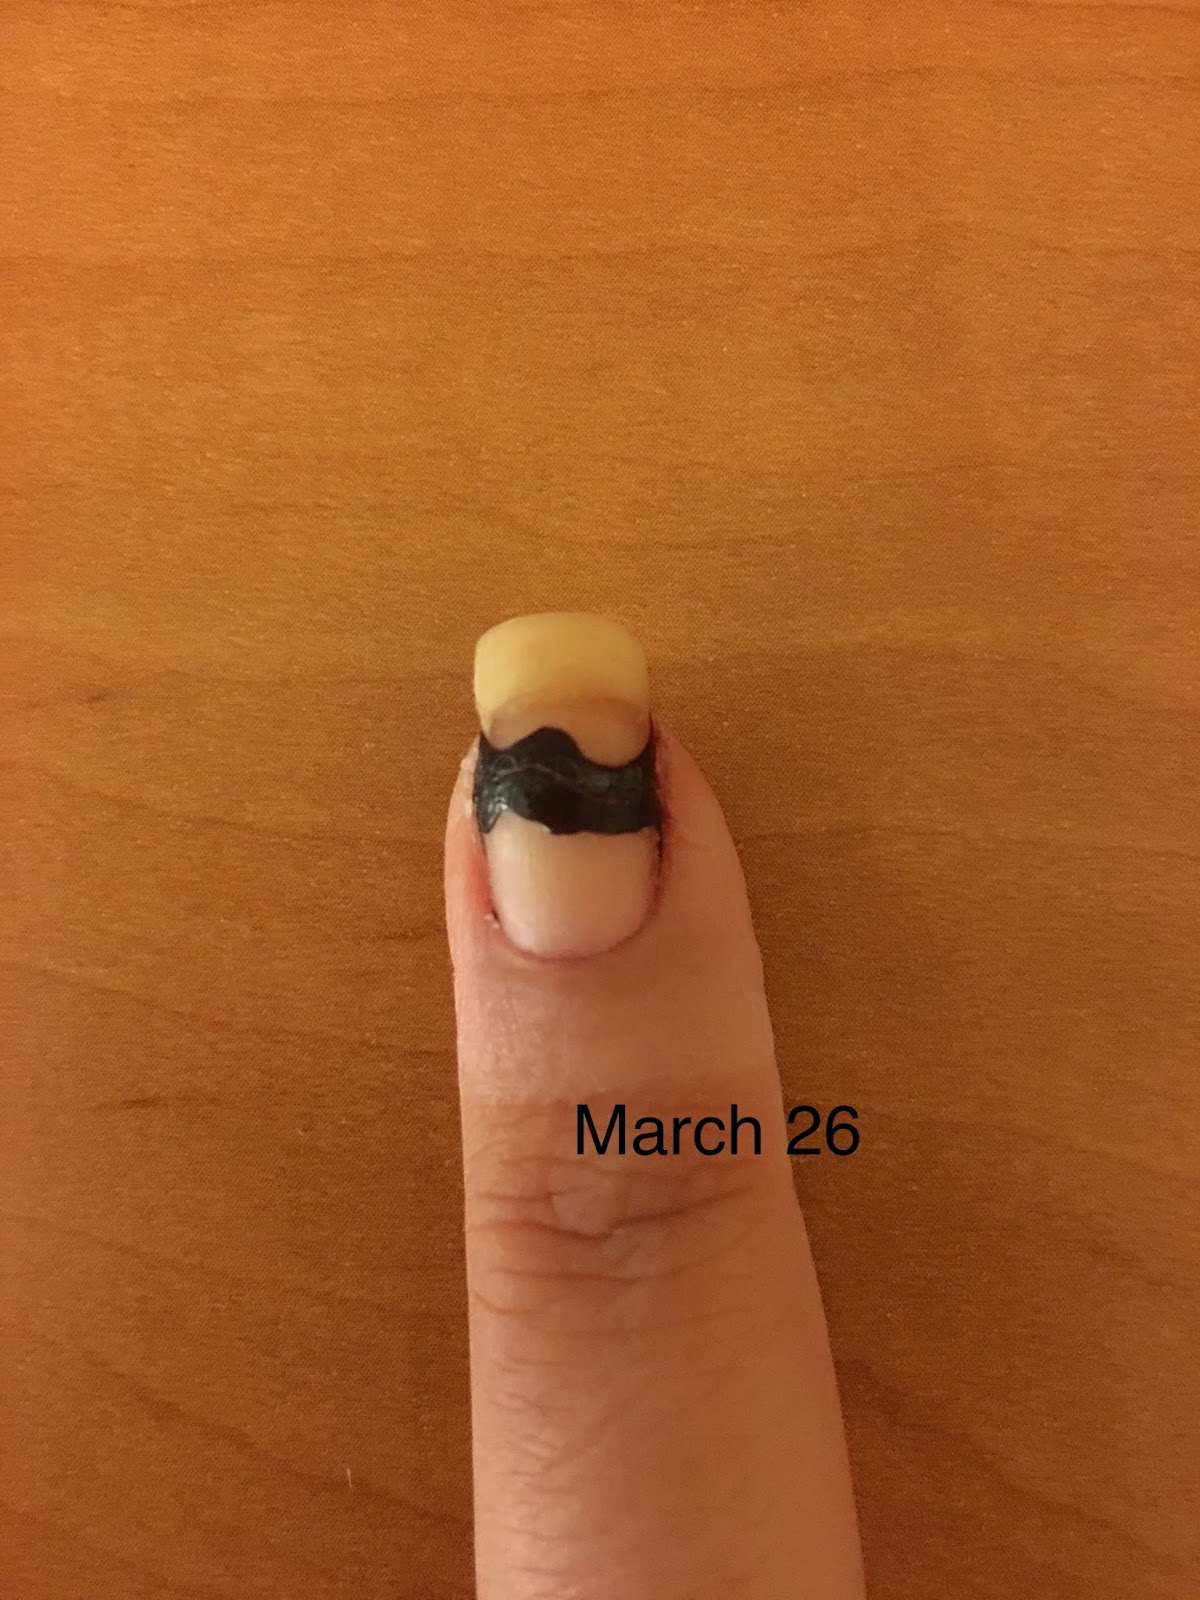
Here's a comparison shot of my nail after a week. I'd purchased an acrylic kit from Kiss to further reinforce the nail. The break was so low that I had to patch it. One patched, I trimmed my nails a bit. But you can see that by continuing to use my Essie nail treatments I'd managed to get the nail to grow a bit - notice that the seam of the split had moved up a bit more because of growth.

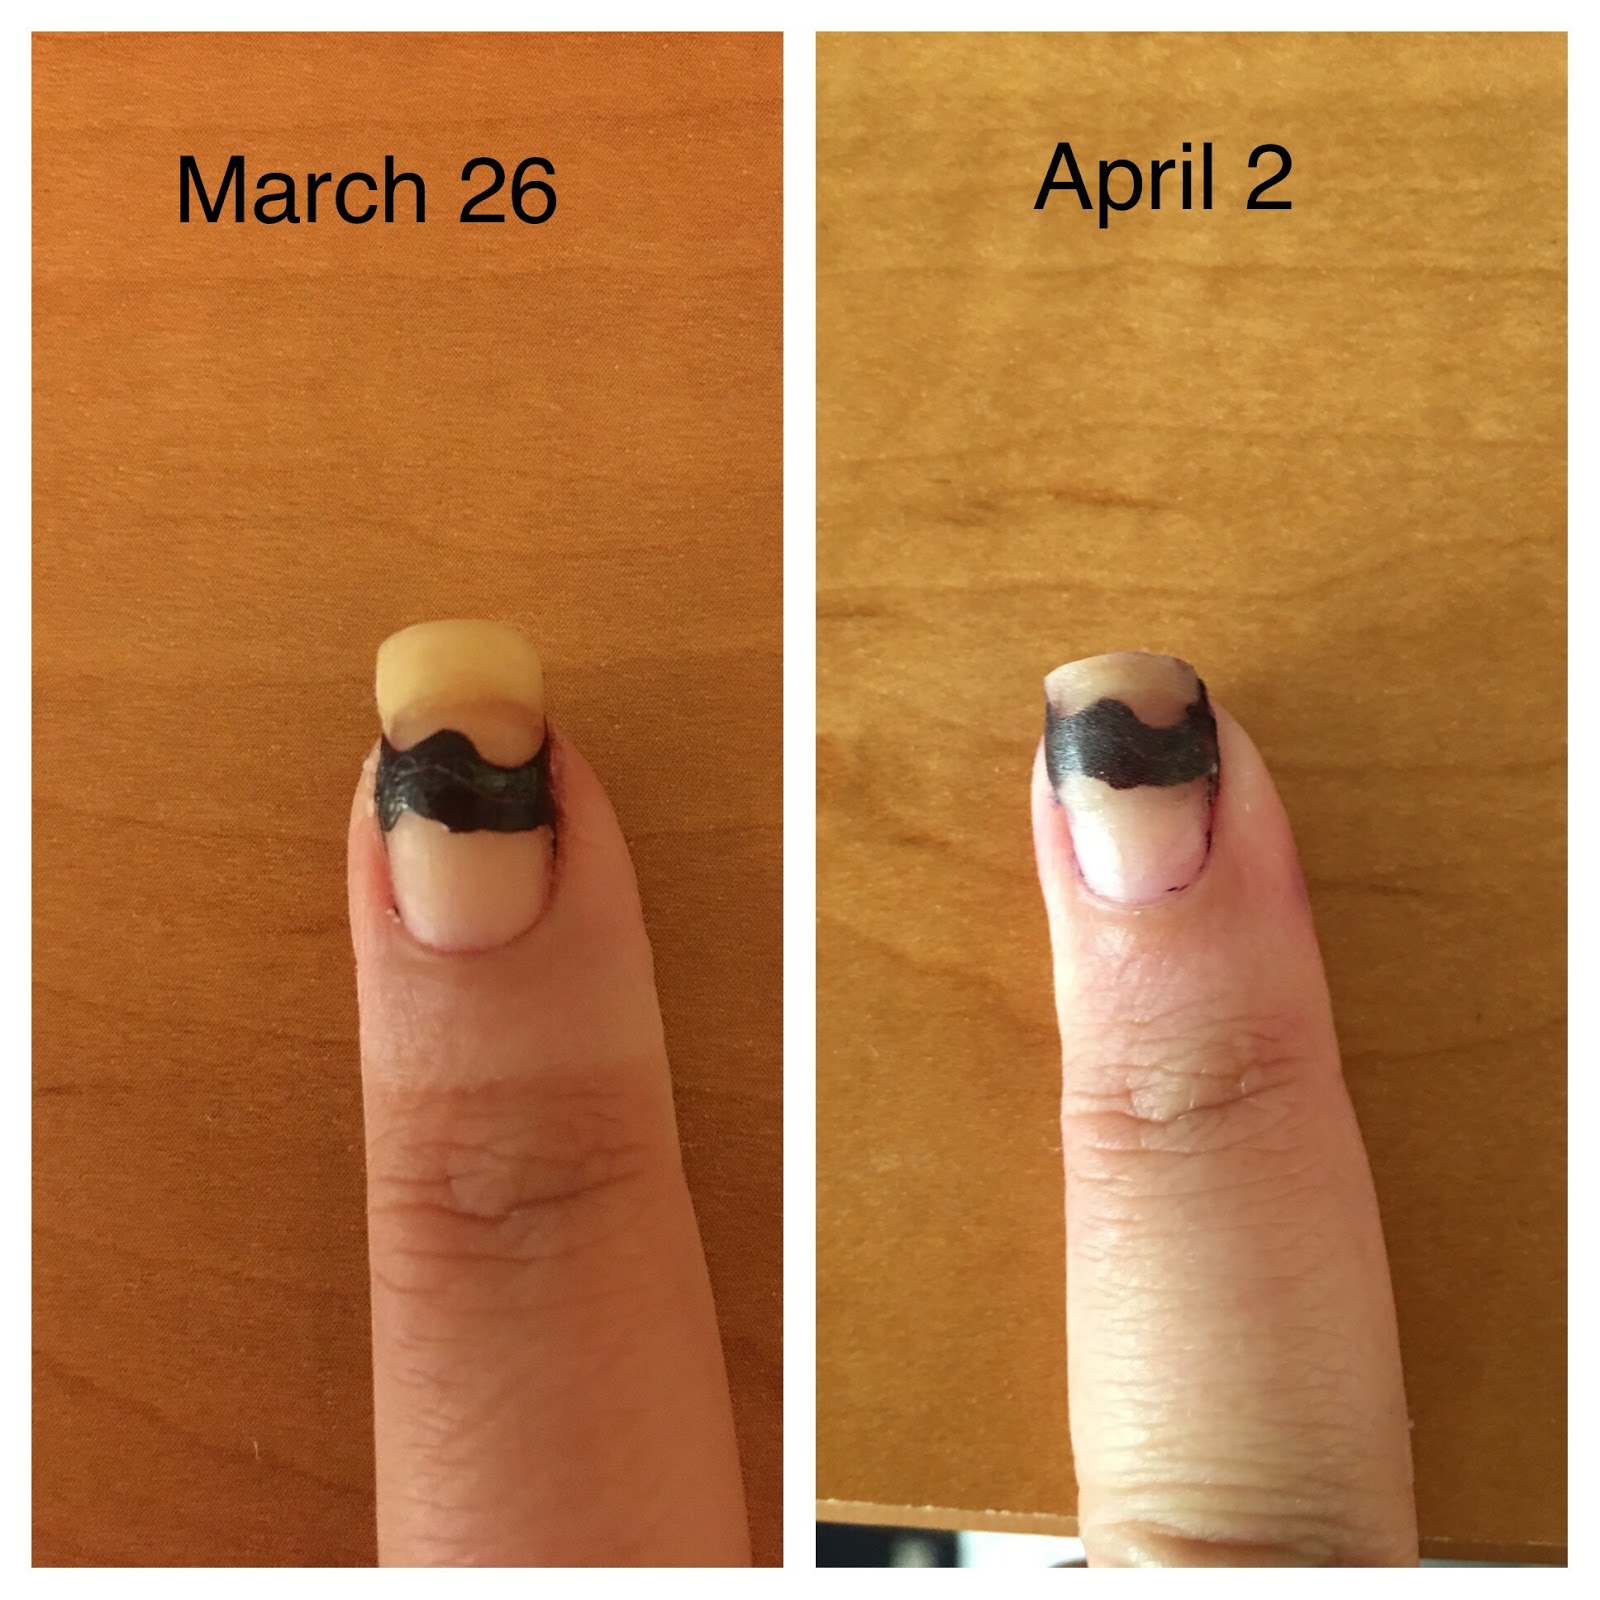
And unfortunately my right index finger joined the break party :( Here's a shot of the quick patch I'd created.
After cutting and manicuring my nails, here's how short they were - even shorter than when I'd started my original nail growth journey. But I noticed that painting my nails dark made it a little harder to spot the patches.


These three shots show how I had to hack my right ring fingernail - it had grown enough to remove the patch. I also had a bit more growth on my index break. A manicure always helps but it was so clear I had two super short nails on my right hand.


And by May 14 and 23, my nails were starting to look more and more like they used to! Here they are in two pastel shades that I really enjoyed - and it's unusual for me to love pastel neutral polishes so much, but I felt really great with these colors.

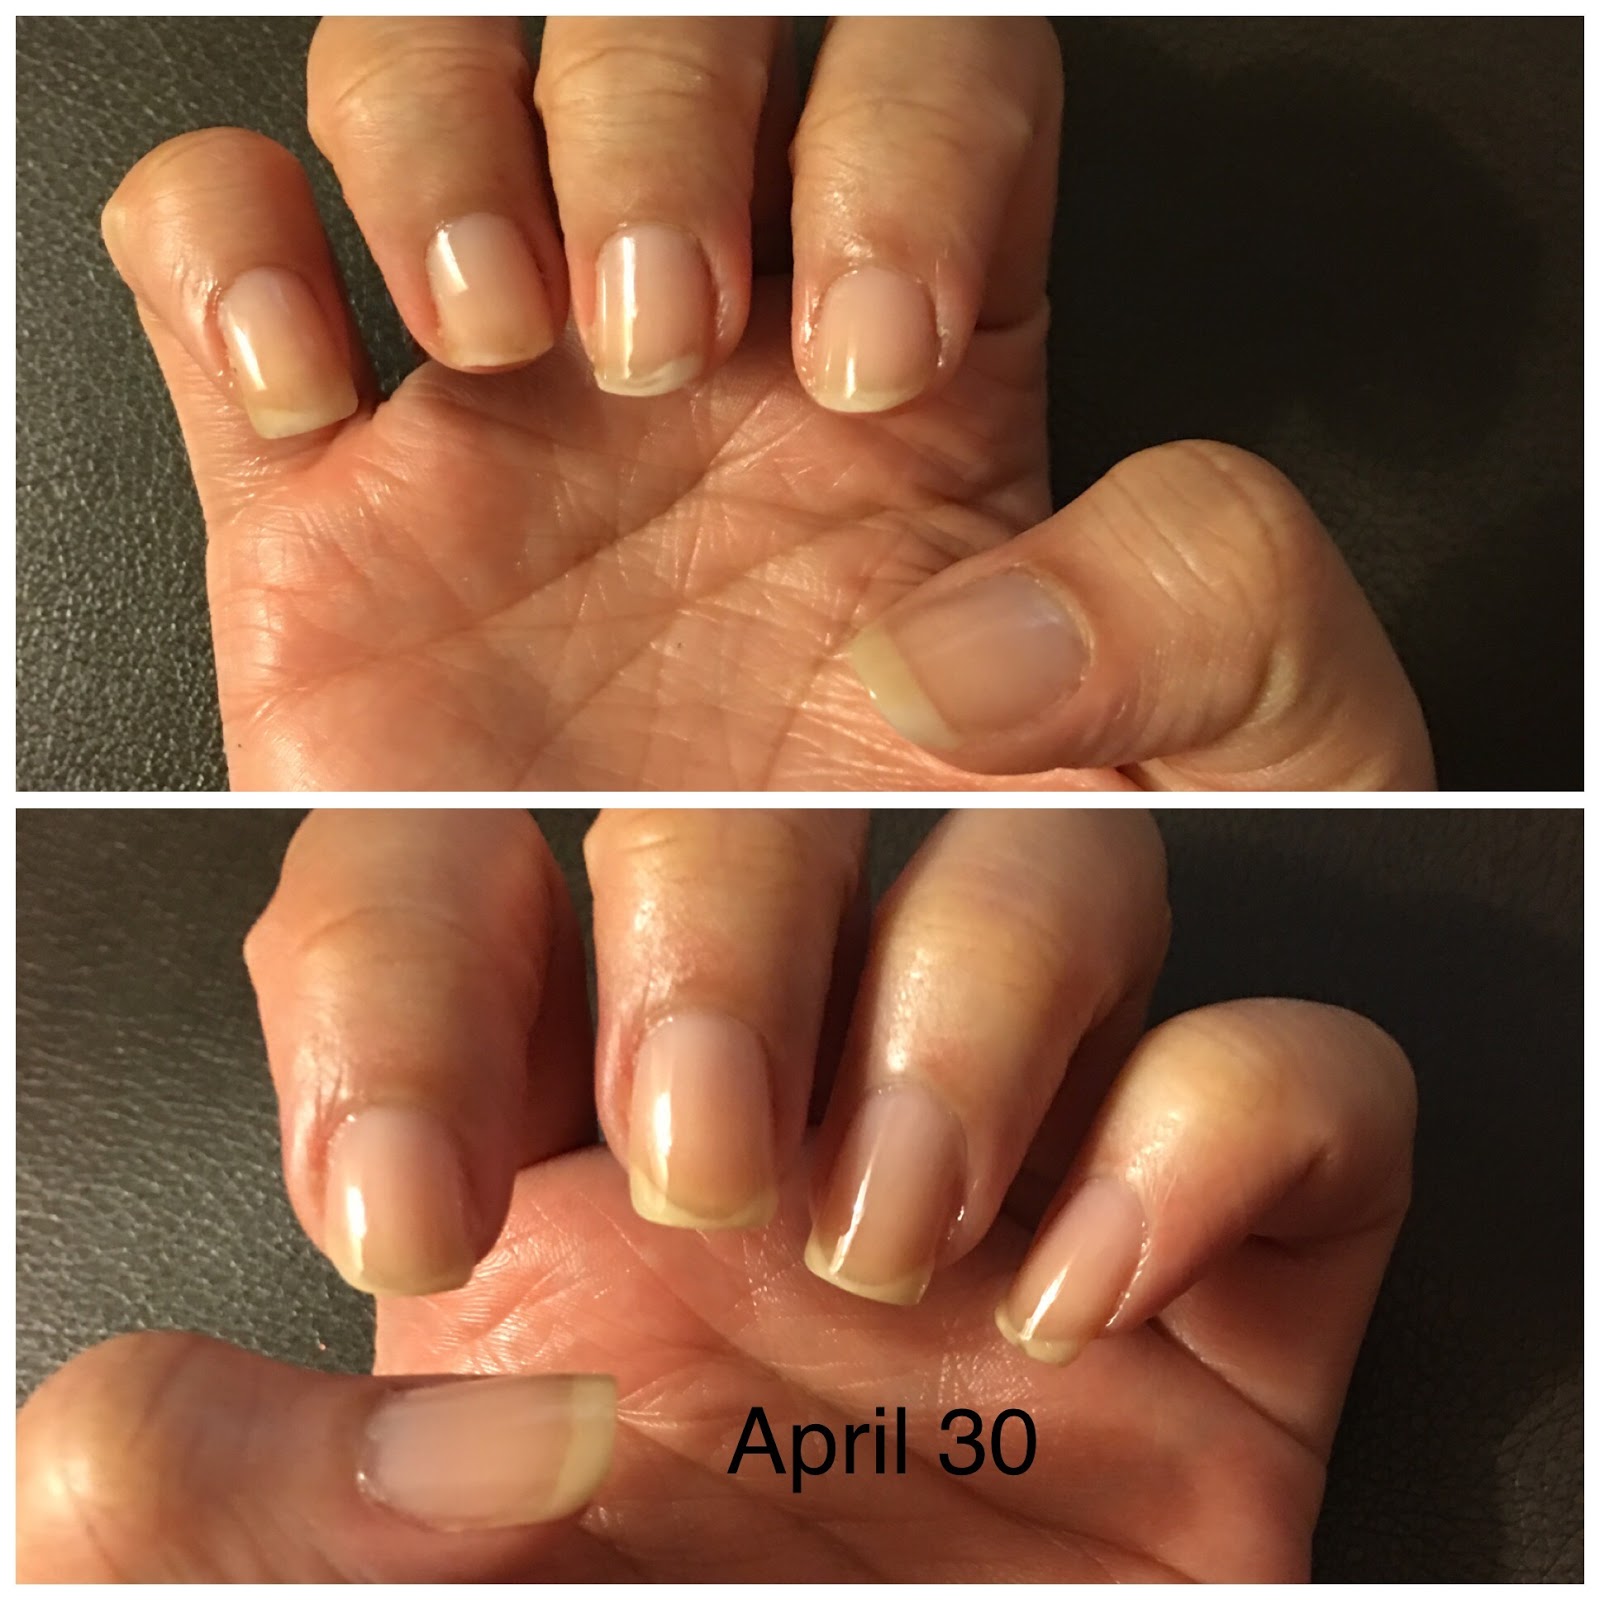
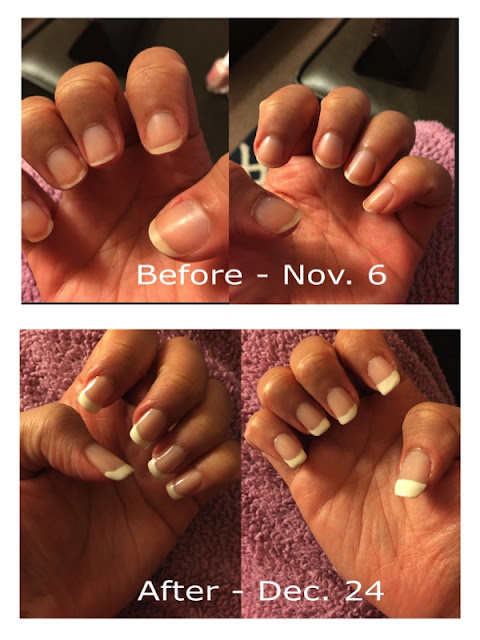
By May 29, I felt like my nails were looking so good again! I can definitely tell that I have some extra work to do to repair the damage to my right ring and index fingers, but they looked so good with this French manicure.
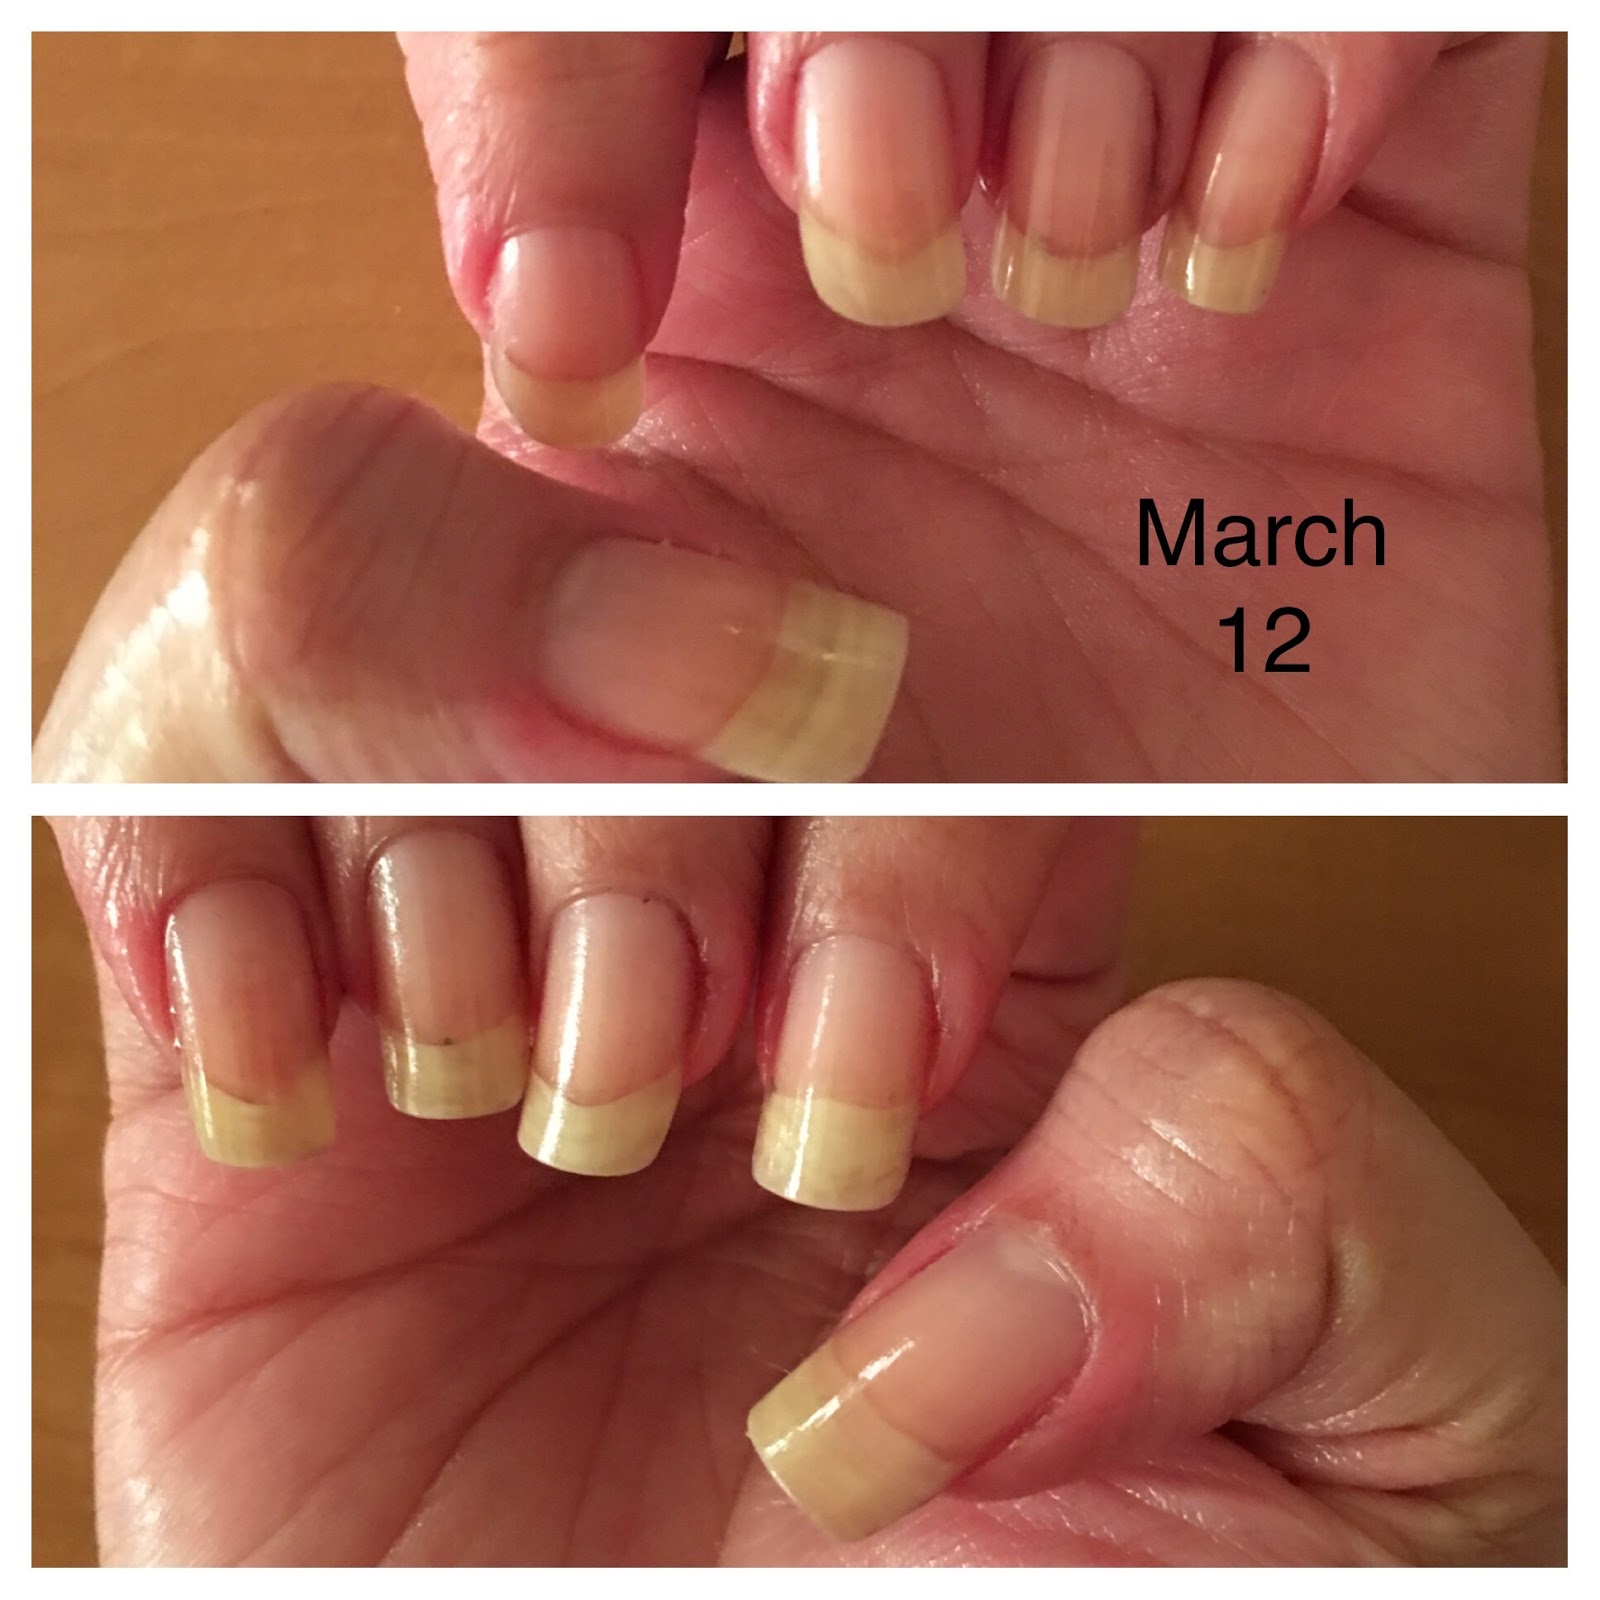
But first, a quick rewind - here were my natural nails after an oil treatment on March 12. They were so long for me and mostly really healthy. I'd done an oil treatment because I'd discovered I had a small chip towards the nail bed on my right ring finger, and I wanted to heal my nails.
And then disaster struck! I had a super low break on my right ring finger - who knew you could totally rip up your nail leaning on a diner bench to pick up your purse?!?!? - and I needed to act quickly. I used Kiss nail glue to hold the break and then (very painfully) removed the rest of my nail polish.
Here's a comparison shot of my nail after a week. I'd purchased an acrylic kit from Kiss to further reinforce the nail. The break was so low that I had to patch it. One patched, I trimmed my nails a bit. But you can see that by continuing to use my Essie nail treatments I'd managed to get the nail to grow a bit - notice that the seam of the split had moved up a bit more because of growth.

And unfortunately my right index finger joined the break party :( Here's a shot of the quick patch I'd created.
 |
After cutting and manicuring my nails, here's how short they were - even shorter than when I'd started my original nail growth journey. But I noticed that painting my nails dark made it a little harder to spot the patches.


These three shots show how I had to hack my right ring fingernail - it had grown enough to remove the patch. I also had a bit more growth on my index break. A manicure always helps but it was so clear I had two super short nails on my right hand.


By April 16, my nail treatments were helping deal with some of the nail break damage enough to bring my nail plates back up to normal. I now really felt like I could begin growing my nails out properly.

Here are my nails a week and two weeks later - even my super problem nails were coming back together with the benefit of treatment. I also started putting my Essie treatments on the undersides of my nails sooner, as well as coating the free edge to lock in its benefits.


And by May 14 and 23, my nails were starting to look more and more like they used to! Here they are in two pastel shades that I really enjoyed - and it's unusual for me to love pastel neutral polishes so much, but I felt really great with these colors.

By May 29, I felt like my nails were looking so good again! I can definitely tell that I have some extra work to do to repair the damage to my right ring and index fingers, but they looked so good with this French manicure.
***
After this newest nail journey, here are my best tips for saving and regrowing after a break:
- Nail glue and patches are your friend if the break is too low to reasonably be cut right away. Keep treating your nails even with a path so that you can cut when there's enough growth to make it possible to cut safely.
- Even if your nail is split after a break, never buff or file - a broken nail is already compromised and doesn't need to lose additional layers through buffing.
- Sticking to a healthy nail routine keeps the growth going - my Essie treatments worked beautifully on both journeys and I couldn't trade them for anything.

Comments
Post a Comment